Do It Yourself
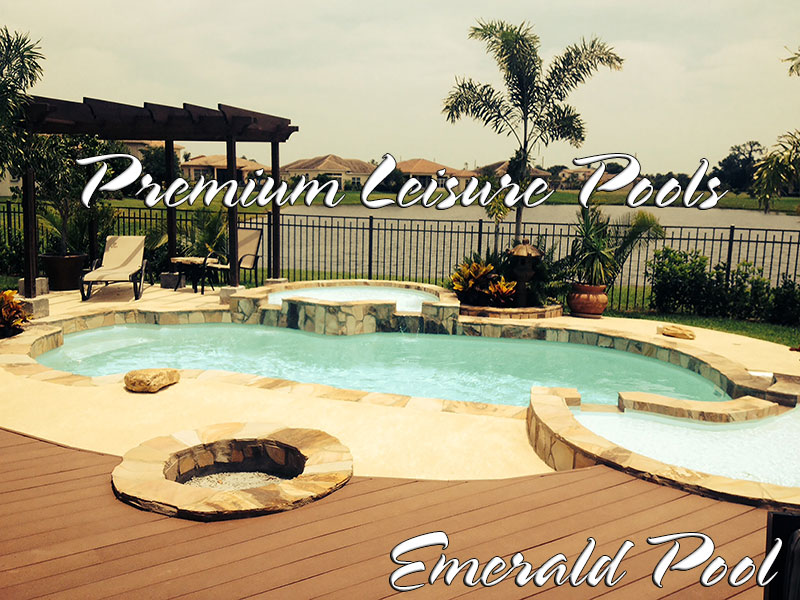
Buy Just the pool shell itself . . . . or buy the complete package with pump/pumps, filter system, chlorination, pool lighting LED System or even jets. Everything you need to get started! Factory Direct Packages are quoted directly to the customer. Affordable pool shells and spa shells at wholesale prices. Stop by for a tour...
One of the MOST IMPORTANT things to do is finding the best selection of where your pool will set. Your selection of the pool site will determine how much grading will have to be accomplished prior to the actual dig for the pool. Naturally, a level area is best because it will require the least amount of preparation for the dig, but in many cases there is no level area, therefore, the site must be prepared to accept the pool prior to dig. The pool site should be elevated slightly higher than the surrounding area. Very important that drainage from the surrounding area/areas does not run into the pool.
When dealing with slopes, the severity of the slope will determine if retaining walls must be built in order to have a level area for the pool. If the slope is relatively minor, a simple wall built from landscaping timbers or old railroad ties may be all that is needed, but if the slopes are severe you may be forced to construct a major load bearing retaining wall. If you are not certain, consult a local civil engineer contractor. Poor planning at this portion of the job can cause real problems down the road, so make certain you are dealing with your grade properly. Planning is very important so ensure what type of slope you have.
With the area properly graded to receive the pool, we are now ready for the excavation. You will have a "dig diagram" furnished by Premium Fiberglass Pools for the pool you are installing.
Each pool is different, so make sure you have the right diagram which you can download above under forms & downloads. A good way to start is to set up grade stakes and string even spray paint outlining the area for the excavation.
The grade stake at the string level should designate the top of the pool, and all dig dimensions are from that point down. Remember to consider the type of decking you are going to use, as this will make a difference. With a cantilevered deck, the top of the pool will actually be 3 1/2" below the top of the concrete. This measurement may change due to the type of form you are using. If your deck is going to come to the top of the pool shell only, not cantilevered, than the top of the pool is your string, remember to consider this for your finished elevation. Cantilevered decks are recommended.
NOTE: Your finished elevation, the top of your concrete decking, should be 4" to 6" above the surrounding area for proper drainage away from the pool.
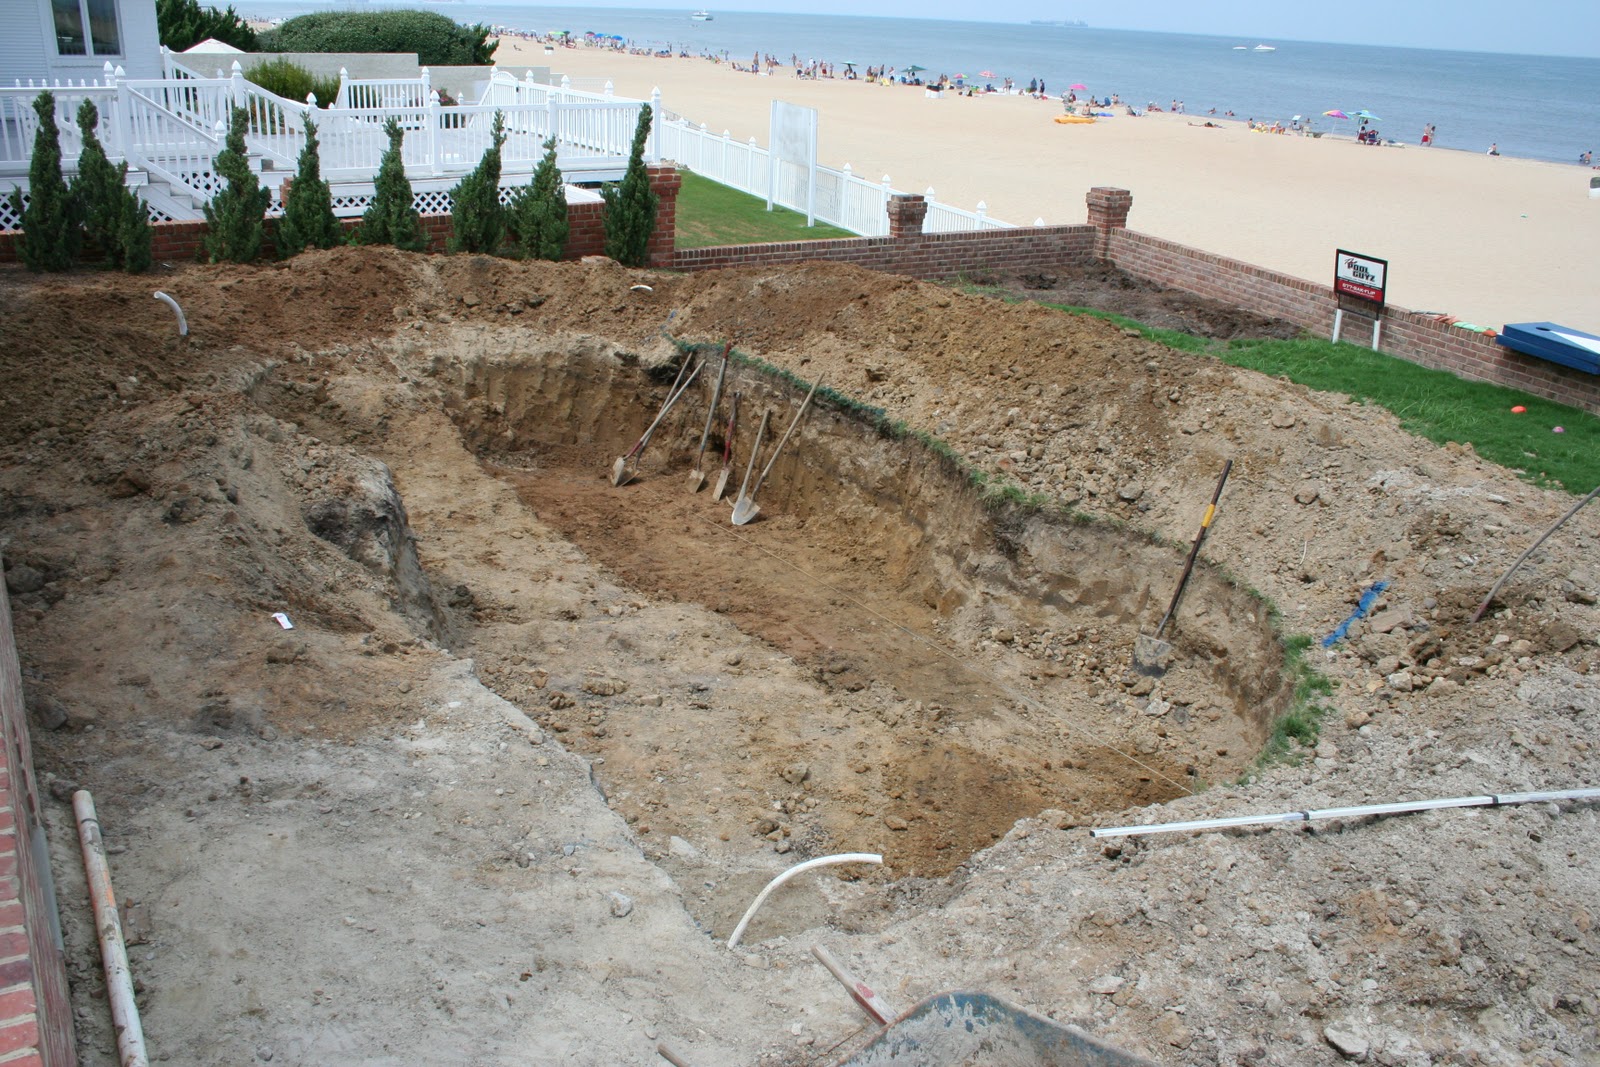
With the pool area and all elevations planned, including your decided type of decking, you are now ready to proceed with the dig. An ideal excavation is one that is as close as possible to the dimensions of the pool shell, but with the following rules in mind. The excavation should be 2" to 4" deeper than the actual pool for your sand bed. The sand bed is to level the pool shell and provide a perfect support base with no voids when the pool is lowered into the hole. Your excavation should be approximately one foot longer and one foot wider than the pool shell. This will allow for a six inch over dig all the way around the pool once it is in place. Additional hand excavation will be required to insure the skimmer when attached to the pool will fit in the excavation. A transit and story pole, when used properly, will insure an accurate dig. Remember to double-check all measurements in the excavation for accuracy prior to letting your excavator leave.
Sand or rock dust must be used to bed the shell into the excavation and for backfill. In no event is dirt to be used. One of the easiest ways to know how much sand is needed to be placed on the bottom of the excavation is to set a grade stake at all four corners, and one on each side of the center line in the bottom of the hole. If you are installing deeper models with breaks for deep ends, than each individual depth change must be noted. By using the transit and shooting down from your grade stakes indicating the top of the pool, you will know exactly where on the bottom stakes the pool should be to maintain an exact level for the pool. With each stake marked where the bottom of the pool will rest, a taught nylon string can be tied around each of these bottom stakes which will than outline the entire pools bottom at its various depths. Ideally, if your excavation was perfect, the string would be the same two to four inches off the bottom of the excavation as planned, but don't be concerned unless there are areas of the hole's dirt bottom than come above your strings. If this is the case, your hole is not deep enough in these areas and additional excavation must be done. If there are areas that are deeper than the 2" to 4", these can be filled with sand and are of no consequence.
An area approximately 4'-6' long, 2'-3' wide and 12" deep should be dug out at the middle of the deepest end of the pool. If the pool is going to have a drain in the bottom it could end up in this area and the sump hole will need to accommodate the drain as well. This area is for a dry well sump, which has a gravel bottom, 2" perforated PVC pipe with an end cap attached to a 1 1/2" or 2" PVC line that is run under the pool and up and out of the excavation under the deck. This line can than be attached to a pump. The remainder of the sump hole, after the pipe is installed, should be filled with1/2" or larger gravel. This will allow for underground water that may accumulate under the pool during and after the installation to be removed, and is a permanent part of the installation.
NOTE: Failure to install a dry sump well could cause hydro-static water pressure to build up under the pool during the washed sand backfill along with long term water build up during the life of the pool.
You are now ready to put the sand base into the pool hole.
A level 2x4 as long as the width of the pool will provide for an excellent secreting device to level the sand to the top of the string. The objective is to compact the sand into a smooth level bed to the depth of the string outline of the pool bottom. When finished you should have a perfect bottom for the pool shell to rest on. When you have double-checked your measurements and are confident this portion is correct you may remove the stakes and string at this point. Be very careful not to allow any sharp objects or loose clumps of dirt to fall onto or disturb the sand bed. A stake left unnoticed or a large clump or rock could pierce your pool shell when it is filled. With all areas checked and double-checked, you are ready to proceed to the next step.
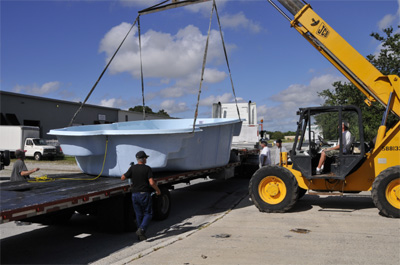
Your Premium Leisure Pool is delivered to the site with fittings in place you requested. You may have to mount supplemental items not ordered with your pool, such as additional inlets or jets. It is easiest to drill and install these items while the pool is out of the ground. Most of the pool's plumbing should wait until the pool is in the ground, except for the main drain line. This line should be stubbed up and tied to the pool prior to setting the pool in the hole. There won't be room to do this once the pool is in place. If any additional plumbing is attached to the pool prior to setting, extreme care must be used to insure these pipes are not damaged while setting the pool. It is best to leave additional plumbing lines until after the shell is inserted.
With the hole properly prepared, all measurements double checked, and making certain that there is nothing in the bottom of the hole except a compacted level bed of sand, and your sump installed, you are now ready to set the pool.
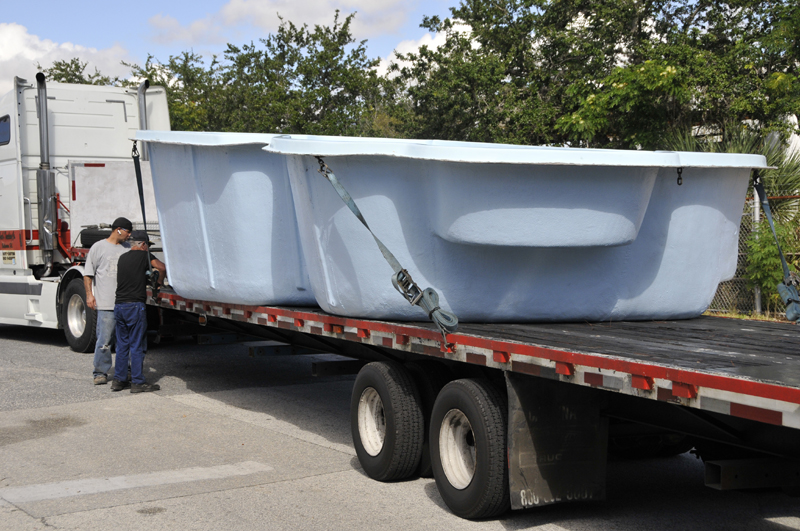
A suitable sized crane is recommended for this job. Although certain size backhoes and trackhoes are capable to do this job, a crane is the safest and most suitable piece of equipment to use. It is designed for this purpose and can easily lift the pool back out of the hole for corrections in the sand bottom if necessary. Your Leisure Pool has four lifting areas, Steel reinforced with fiberglass lifting tubes (not PVC pipe or cardboard tubes), under the coping at each corner of the pool shell. Chains are usually shipped with the pool to attach lifting straps to be attached to the crane.
Make certain these straps, usually supplied by the crane company are in good condition and long enough not to bind or pull the pool in when lifted, and double check al1 chains to insure they are properly secured to the pool shell.
If the pool has a drain on the bottom of the shell, careful measurements must be made at this time, directly off the pool, to determine exactly where the hole must be dug in the bottom to accept the drain. This hole should be carefully hand dug and a proper fit is imperative. (This is a most important area of installation, and exact measurements are required.) Remember your gravel sump may be in this area and if so, should be deep enough to accommodate the drain and the PVC line running from it to the pump.
Rope lines should now be attached to the pool to help guide it when lifted by the crane. Carefully and slowly lift the pool slightly off the ground or trailer and double check all chains and straps. Insure everything is properly rigged before proceeding. It is not advisable to lift the pool during any type of wind. The pool will act as a giant kite. Make certain wind is at a minimum. Very slowly lift and move the pool to the excavation. It is recommended to keep the pool as low to the ground as possible, this will help in handling and lower the effects of wind movement. Once over the hole, line up the shell, make certain no debris has fallen into the hole and slowly lower the pool into the excavation. If any area of the shell is binding, stop and correct the problem before proceeding. Make certain the bottom drain, if your pool has one, fits correct
Procedure for Obtaining Swimming Pool Permits
RESIDENTIAL:
A compliance statement must be on plans stating design is according to the 2015 Florida Building Code and the ANSI/NSPI - 5 standard for the design, construction, and workmanship of swimming pools.
All suction inlets must be identified and noted with inlet covers that meet ANSI/ASME A112.19.8M Standards.
Each application for a swimming pool permit will have to detail the barrier requirements to be included as part of the pool construction and be installed at the time of final inspection. Pool safety features: barrier, alarms, self-closing latching doors, pool cover.
Supply property STRAP NUMBER (found on upper left corner of property tax statement), property owners name, phone number, address of job, directions to job site and pool value.
When the plans are approved, you will be notified to pick up the permit. (Either by phone, fax or by mail)
Every above ground swimming pool, in-ground pool, hot tub, spa or similar facility shall be enclosed by a fence, wall, screen enclosure or other structure, not less than four (4) feet in height, constructed or installed so as to prevent unauthorized access to the pool. This requires a separate enclosure permit.
IN-GROUND POOLS:
Submit three (3) copies of the following:
1. Plot plan - must include: lot size, setbacks to front, sides and rear property lines from existing structures and proposed pool area, size of pool, dimensions of deck and location of steps, ladder and pool equipment.2 Cross section and plan view of pool showing steps, ladder, deck details and footing details.
ABOVE GROUND POOLS: (24" and above require a pool permit)
Submit three (3) copies of the following:
1. Plot plan - must include: lot size, setback to front, sides and rear of property lines from existing structures and proposed pool area, size of pool, dimensions of deck and location of steps, ladder and pool equipment.
2. Manufacturer's specifications on how to erect the pool and specifications on self-locking ladders.
NOTE: If deck is 30 inches or more above the ground level, these plans must be sealed by a Florida registered architect or engineer with compliance statement for the 2015 Florida Building Code.
IN-GROUND POOLS:
1. Pool Retaining Wall/Pile caps (101 inspection on automated system).
2. Pool Steel - structural, including main drain (108 inspection on automated system).
3. Electrical Bonding at time of Pool Steel ( 304 inspection on automated system).
4. Pool Deck - structural (109 inspection on automated system).
5. Electrical Bonding of Pool Deck (304 inspection on automated system).
6. Pool final including the electric (119 inspection on automated system). This inspection should only be called for after the permanent enclosure is in place and an enclosure permit posted.
ENCLOSURE/FENCE/RAILING/WALL
This requires a separate permit which must be posted and the permanent enclosure erected before final inspection of the pool.
Submit three (3) copies of the following: Plot plan showing lot size, setbacks to front, sides and rear property lines, any easements on the property, existing buildings, pool area, and dimensions regarding enclosure area. If COMMERCIAL, we must have three (3) sets of approved Development Order. Aluminum enclosure - architect or engineered sealed construction drawing. If plans are mastered with Lee County, we will need to know the master number. Fence/Rail - detail showing construction, spacing of posts, self locking gates and height. Wall - architect or engineered sealed construction drawings. Supply property strap number (found on upper left corner of property tax statement), address and directions to job site.
CALL MAJOR CREDIT CARDS ACCEPTED! 
Ready to buy and have a question about our production process? Production Schedule?
Email our Sales Team Today: PoolSales@PremiumLeisure.com
Thank you for your interest in our Premium Fiberglass Pools, Shells, Decking Products and Accessories. If you have questions, give us a call or shoot us an email.